iOS: Tab Bar Controller
We have to give the user the ability to navigate between completely different sections of iOS applications. To allow the user to interact with the buttons and navigate between the various sections of the app, we might need to include a tab bar at the bottom with various buttons. Tab Bar Controllers are used for this. This section of the course will cover controllers for the tab bar.
In order to allow the user to engage with the interface and choose which view controller to display, a Tab Bar Controller is a type of container view controller that controls a variety of view controllers in a radio-style selection interface. It is a UITabBarController instance that derives from UIViewController.
class UITabBarController : UIViewController
The tab bar interface consists of a tab bar at the bottom of the screen with several tab bar button items to switch between the application’s various modes. The iOS Health app’s tab bar interface configuration is seen in the accompanying image.
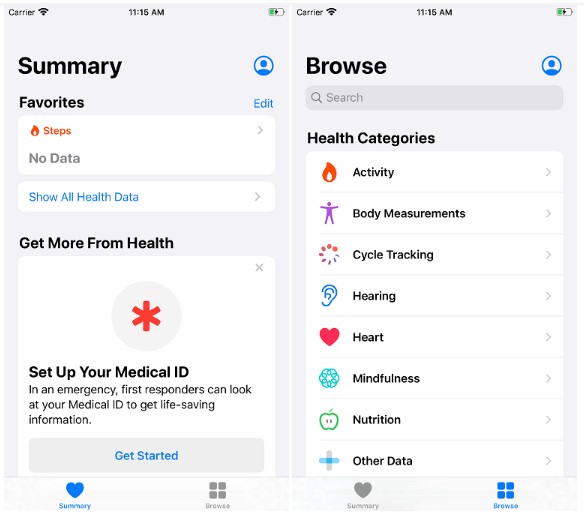
Each tab in the array of view controllers maintained by the Tab Bar Controller is linked to either a custom view controller or the view controller navigation stack. The root view controller of the related stack will be shown when the user selects a specific tab. The tab bar interface is used to display information in two ways: either in a completely different style or in a different format entirely.
UITabBarController Properties and methods
The following attributes and methods are available in the UITabBarController class.
| SN | Property | Description |
|---|---|---|
| 1 | var delegate: UITabBarControllerDelegate? | It is an instance of UITabBarControllerDelegate protocol. |
| 2 | protocol UITabBarControllerDelegate | The protocol UITabBarControllerDelegate contains the set of methods to customize the behavior of the tab bar. |
| 3 | var tabBar: UITabBar | It is the tab bar associated with the controller. |
| 4 | var viewControllers: [UIViewController]? | It is the array of view controllers that are to be displayed in the tab bar interface. |
| 5 | var customizableViewControllers: [UIViewController]? | It is the array of view controllers that can be customized. |
| 6 | var moreNavigationController: UINavigationController | The navigation controller that manages the More navigation interface. |
| 7 | var selectedViewController: UIViewController? | It represents the view controller that is associated with the currently selected tab. |
| 8 | var selectedIndex: Int | It is the index of the view controller that is currently selected. |
| 9 | func setViewControllers([UIViewController]?, animated: Bool) | It sets the root view controllers of the tab bar controller. |
Example
In this example, the tab bar controller will be used to create a very basic project. Here, the application development will solely be done using the storyboard.
Main.storyboard
The storyboard must first have a tab bar controller added. Look for the UITabBarController in the object library for this reason, then drag the result onto the storyboard. As seen in the following image, this will result in the creation of a tab bar controller in the project.
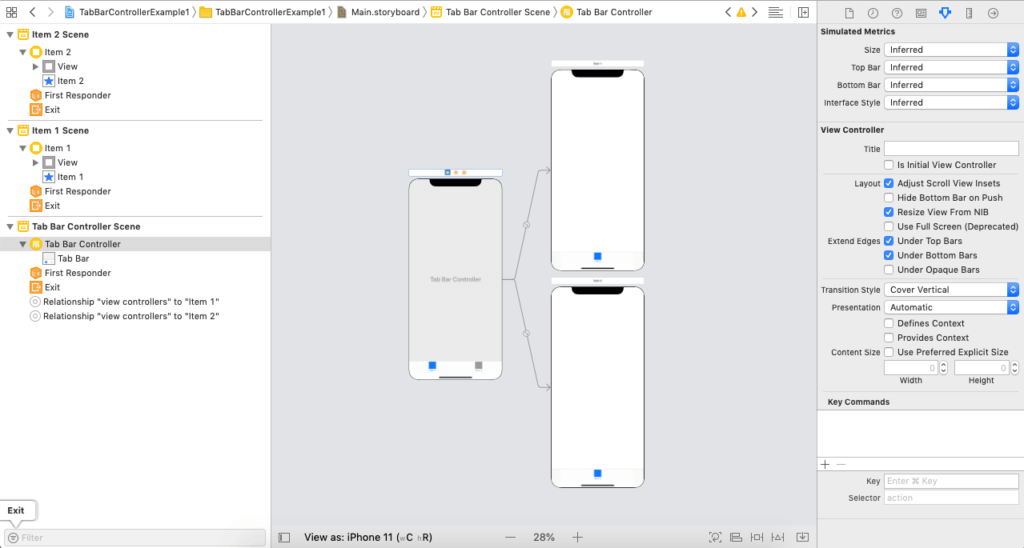
- Here, we see that item 1 is already selected when the tab bar controller first controls two child view controllers with item 1 and item 2. The next image illustrates how item 1 is presented when the project is executed exactly as is, with the tab bar controller set as the initial view controller. We may pick both items to display each of them individually.
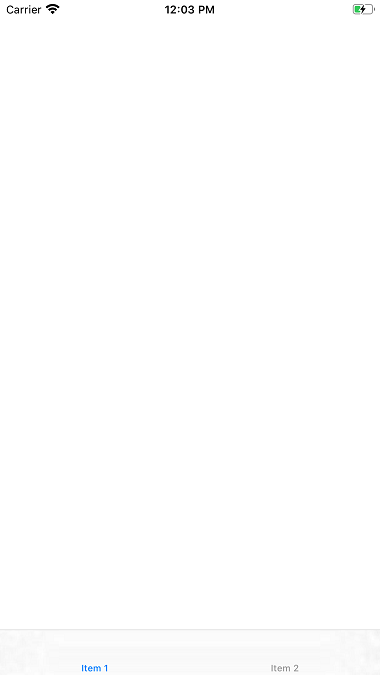
This is where we set up the tab bar items and use the attribute inspector to choose a custom picture. To modify the custom picture of the tab bar item, select the tab bar within the particular view controller and navigate to the attribute inspector, as illustrated in the image below.
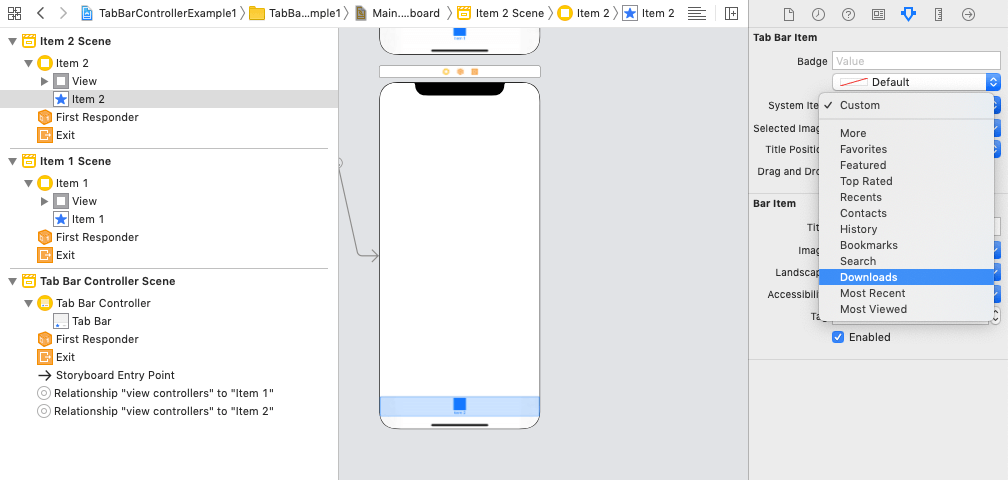
Change the system item so that contacts are used for item 2 and search is used for item 1. In order to distinguish items 1 and 2 in the tab bar interface, we will now alter their appearance. Thus, let’s add labels to both view controllers and alter the background colors of item 1 and item 2.

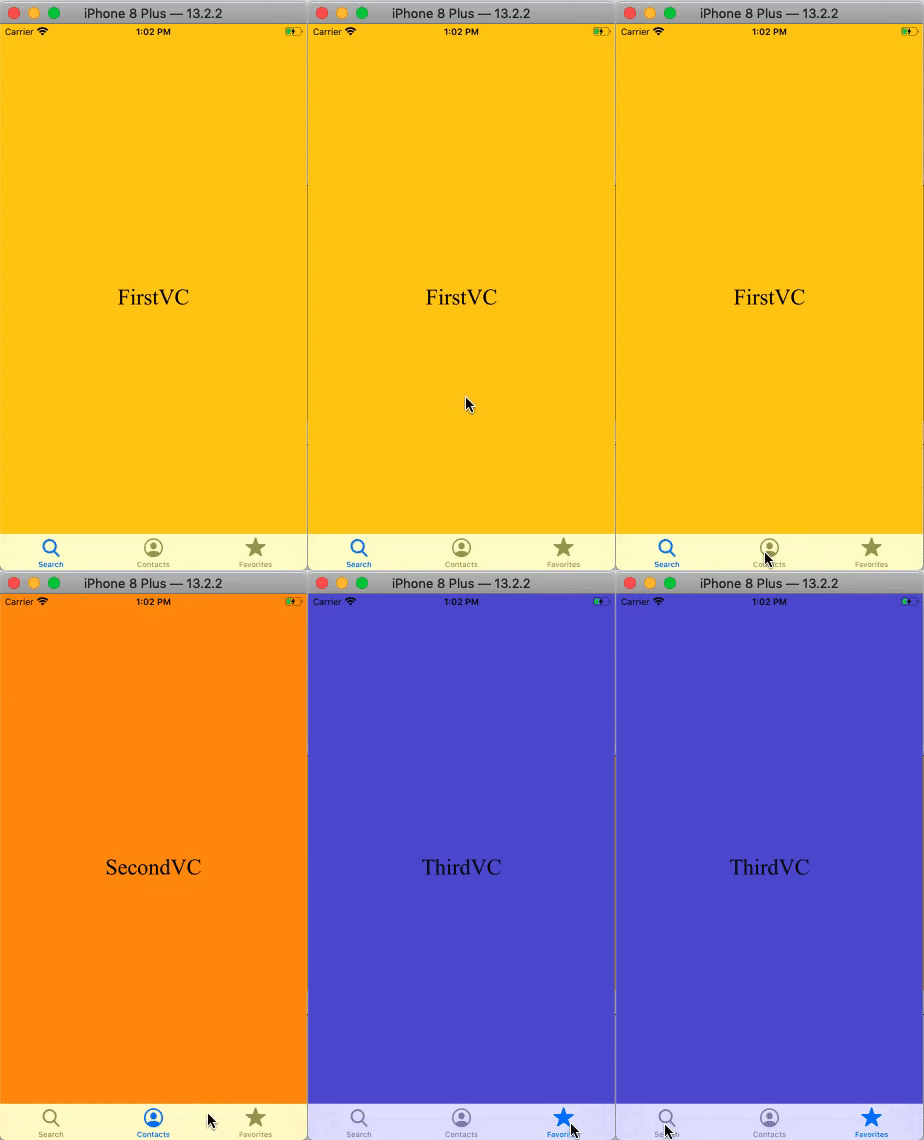
Run this project now, and the output that follows is what we will obtain.

So let’s expand the project to include a third view controller. Use the object library to search for UIViewController for this reason, then drag the result onto the storyboard. We need to establish a link between them in order to attach that view controller to the tab bar controller. As seen in the accompanying image, control drag from the tab bar controller to view controller and choose The View Controller relationship between them.

It will link the tab bar controller to the recently introduced view controller. We will now alter the view controller’s look and give it an identification label.
At last, the project’s interface builder will have the appearance seen in the picture below.
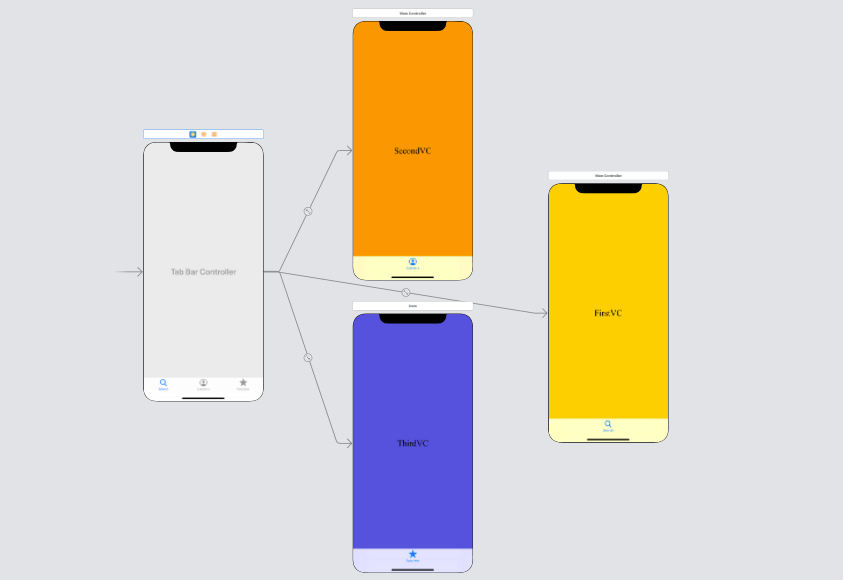
Output
Example : Creating Javatpoint iOS application
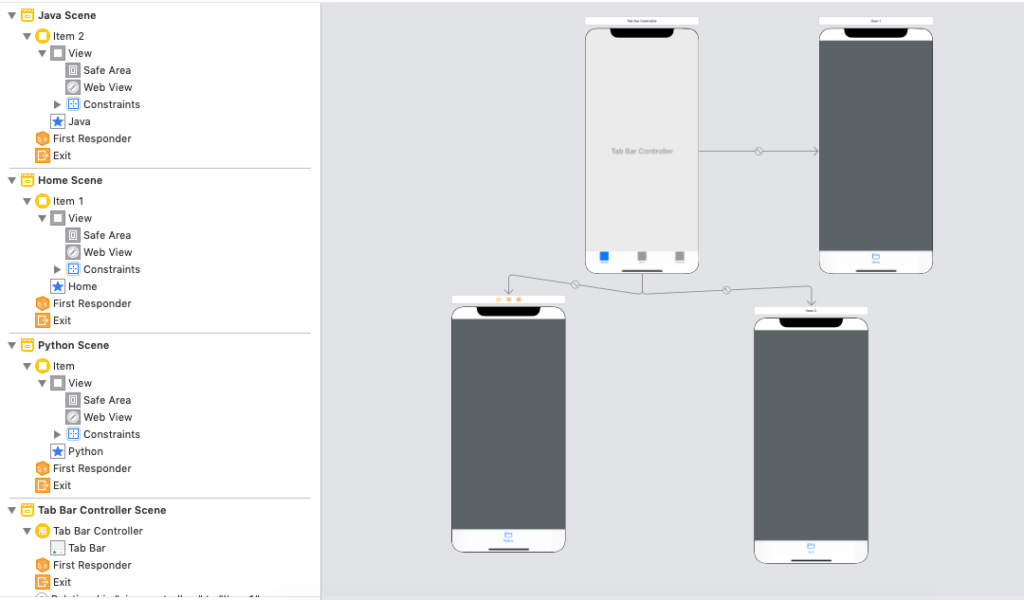
In this example, we will use a web view to replicate the Javatpoint iOS application. In the tab bar controller, we will now set up the HomeViewController, JavaViewController, and PythonViewController view controllers.
Interface Builder
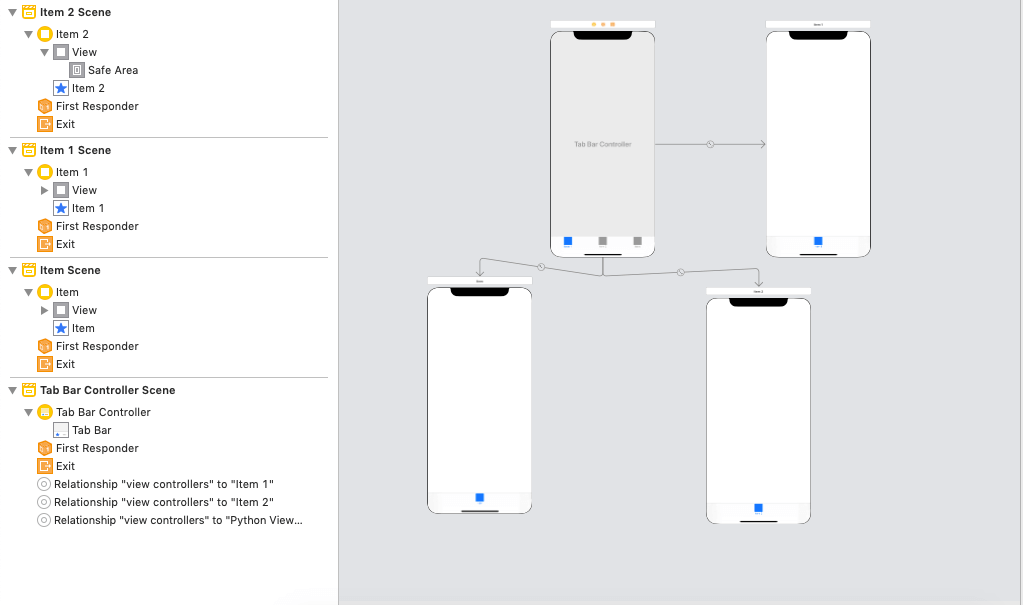
As seen in the accompanying figure, we will add a tab bar view controller with three child view controllers to the interface builder.
The web view will be used in this example to load the particular links in the View Controllers. As a result, we must include particular web views in the View Controllers. Look for the WebView in the object library and select it, then drag the outcome to every view controller. Additionally, specify the WebView’s constraints in the view controllers.
