iOS: Activity Indicator View
One type of content view that can be used to indicate that a task is ongoing is the ActivityIndicator. Main uses for it are in-network calls. The UIActivityIndicatorView class defines methods that we can use to control the ActivityIndicator View. The subclass of UIView is called UIActivityIndicatorView.
class UIActivityIndicatorView : UIView
By using the UIActivityIndicatorView class’s startAnimating() function, we can begin the animation. The animation can also be stopped using the stopAnimating() method. The iOS application’s activity indicator can be shown or hidden by combining the two techniques.
Adding UI Activity Indicator View to interface
Adding UIActivityIndicatorView to interface
1.Navigate to the object library, search for UIActivityIndicatorView, and then drag the result onto the storyboard.
2.Establish the Auto Layout rules that control the activity indicator’s size and placement on various device sizes.
3.In the ViewController class, create an ActivityIndicator action outlet.
4.To start and stop the animation appropriately, use the methods and properties defined in the UIActivityIndicatorView class.
Methods and properties
| SN | Method or property | Description |
|---|---|---|
| 1 | func startAnimating() | This method is used to start the animation of the activity indicator. |
| 2 | func stopAnimating() | This method is used to stop the animation of the activity indicator. |
| 3 | var isAnimating : Bool | This is a boolean property that indicates whether the activity indicator is animating or not. |
| 4 | var hidesWhenStopped() : Bool | This is a Boolean property that controls whether the receiver is hidden when the animation is stopped. |
| 5 | var style:UIActivityIndicatorView.style | It is the basic appearance of the activity indicator. |
| 6 | var color:UIColor | It determines the color of the Activity Indicator. |
Example
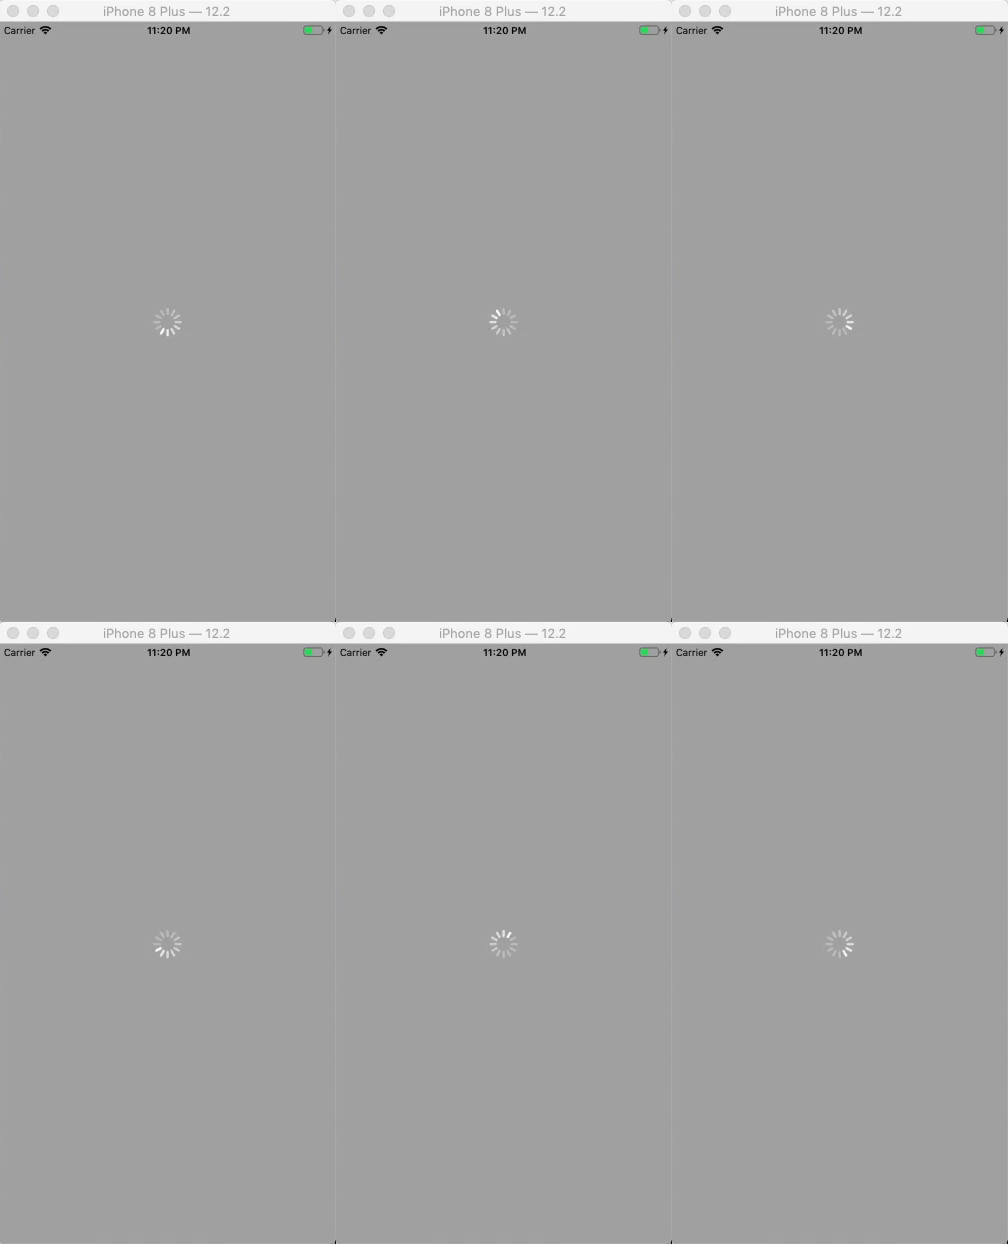
This is a basic illustration of how the activity indicator view appears on the screen.
Interface Builder
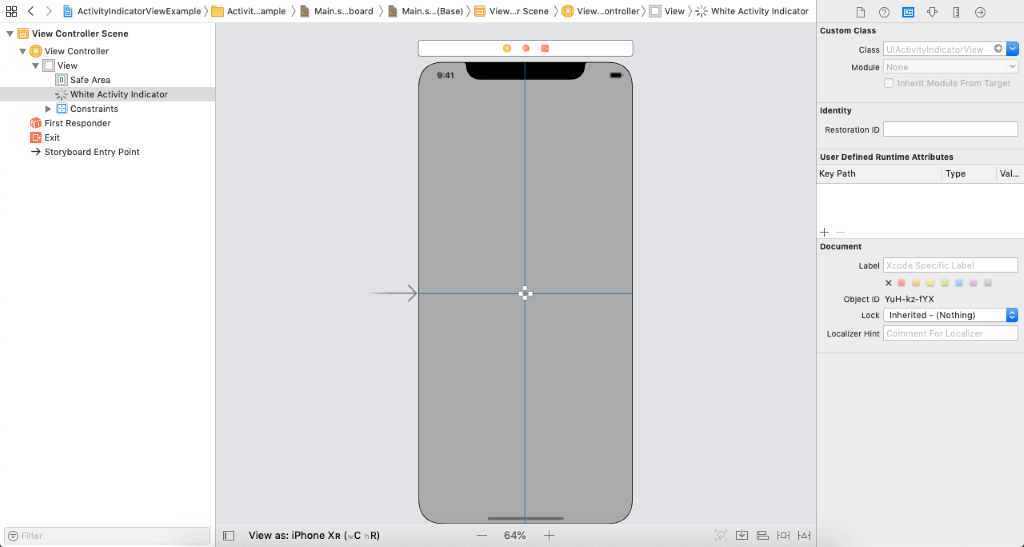
The ActivityIndicatorView will be added to the storyboard first in this example. We will use the object library to look for the UIActivityIndicatorView for this purpose, then drag the result onto the storyboard.

Establish the connection outlet in the view controller and specify the auto-layout guidelines for the activity indicator.

Output

Example
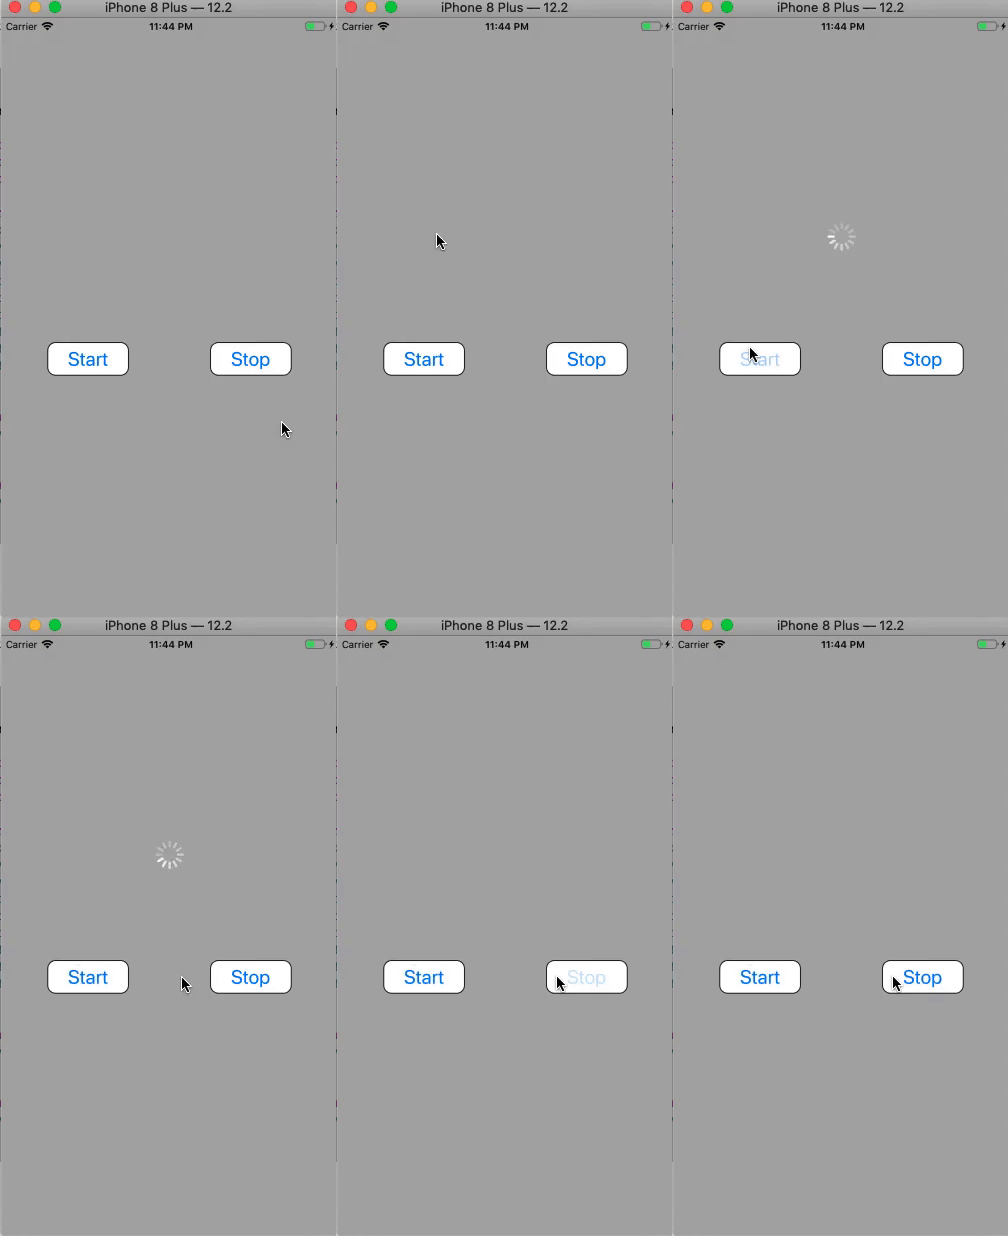
An unregulated UIActivityIndicatorView is seen in Example 1. Two buttons will be created in this example to initiate and terminate the activity indicator’s animation. The animation will be started in the action outlet of the start button and stopped in the action outlet of the stop button.
Interface Builder
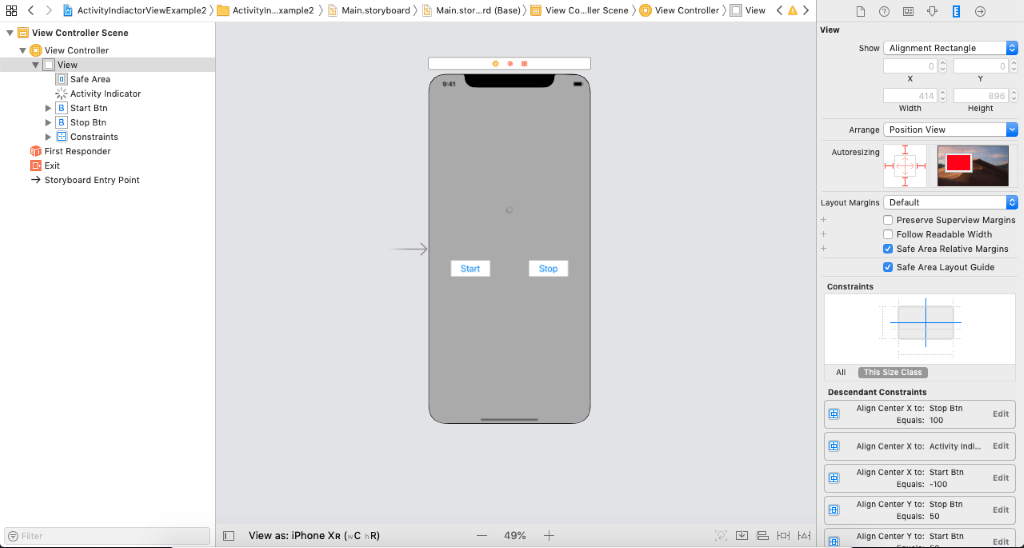
The storyboard that we will make in the example is depicted in the following picture. To a large extent, this is comparable to example 1. We’ll also include the buttons to modify the Activity indicator view’s behavior in this example.

ViewController.swift
					import UIKit


class ViewController: UIViewController {


    @IBOutlet weak var startBtn: UIButton!
    @IBOutlet weak var activityIndicator: UIActivityIndicatorView!
    @IBOutlet weak var stopBtn: UIButton!
    override func viewDidLoad() {
        super.viewDidLoad()
        // Do any additional setup after loading the view.
        activityIndicator.style = .whiteLarge
        activityIndicator.hidesWhenStopped = true
        startBtn.layer.cornerRadius = 10
        startBtn.layer.borderColor = UIColor.black.cgColor
        startBtn.layer.borderWidth = 1
        stopBtn.layer.cornerRadius = 10
        stopBtn.layer.borderWidth = 1
        stopBtn.layer.borderColor = UIColor.black.cgColor
    }


    @IBAction func clickedStartBtn(_ sender: Any) {
        activityIndicator.startAnimating()
    }

    @IBAction func clickedStopBtn(_ sender: Any) {
        activityIndicator.stopAnimating()
    }

}
Output

